(Thread fixed with original photos. Click on the picture for bigger image.)
Maybe because it's so basic, nobody really bothered to write "how-to" do spark plug change , but I thought this might save someone's (a little bit of ) time and money. So, here it is.
First off, which plugs should you buy?
The manual says spark plugs for non-testa S4R as either
Champion RA59GC (Ducati part #: 67090171A) (my bike came with this one)
or,
NGK DCPR9EVX
Now, if I remember correctly, DCPR9EVX were superseded by DCPR9EIX (iridiume).
And if you go to NGK's web site, they list DCPR9E for non-testa S4R.
Whatever it says, it is WRONG. Don't buy them.
 IMG_0311
 Left is NGK, right is Champion just taken off from the bike.
You need the one that the top screws off. NGK DCPR9E's top WILL NOT come off.
 IMG_0312
 This is what's going to happen if you try to screw the cap off ...

Had to go to Ducati dealership to get those Champion plugs.
New Champion RA59GC, top cap screwed off
 IMG_0317
 Do the tops of NGK DCPR9EIX come off ? Well, I didn't bother to drive around the town to find one because ...
1) I use NGK iridium spark plugs for my car. And I KNOW the top of these plugs WON'T come off.
2)Duc dealer is only 5 min. away and they had Champion in stock.
3)Here's some more info about NGK DCPR9EIX
http://www.ducatimonster.org/forums/general-monster-forum/113580-spark-plug-info-ngk-iridiums-s4rs.htmlOK, now you got the correct plugs. Let's the show begin.
Start with the front (horizontal) cylinder.
You will have to undo some of the radiator mounting bolts.
Here ...
 IMG_0304
 here ...
 IMG_0305
 ... and here
 IMG_0306
 This should give you enough space to remove spark plug cap from the head.
Disconnect the wire from the plug cap, push the radiator away to make some room, twist and pull the cap off.
 IMG_0307
 NAPA 5/8 spark plug socket works. You will need extension bar because spark plug recess is pretty deep.
(I also took off the black plate under the lower triple, just wanted to be on the safe side. You don't want to damage radiator fin, you know ...)
 IMG_0309
 See how deep the recess is ?
 IMG_0308
Blow inside of spark plug recess with compressed air before removing the plug.
 IMG_0313
 If plug caps won't come out easily, a little bit of silicon spray will help.
Always check the gap of your new spark plugs before installation. Correct the gap if necessary. (the manual says 0.6-0.7mm. Use correct tool for checking / re-gapping.)
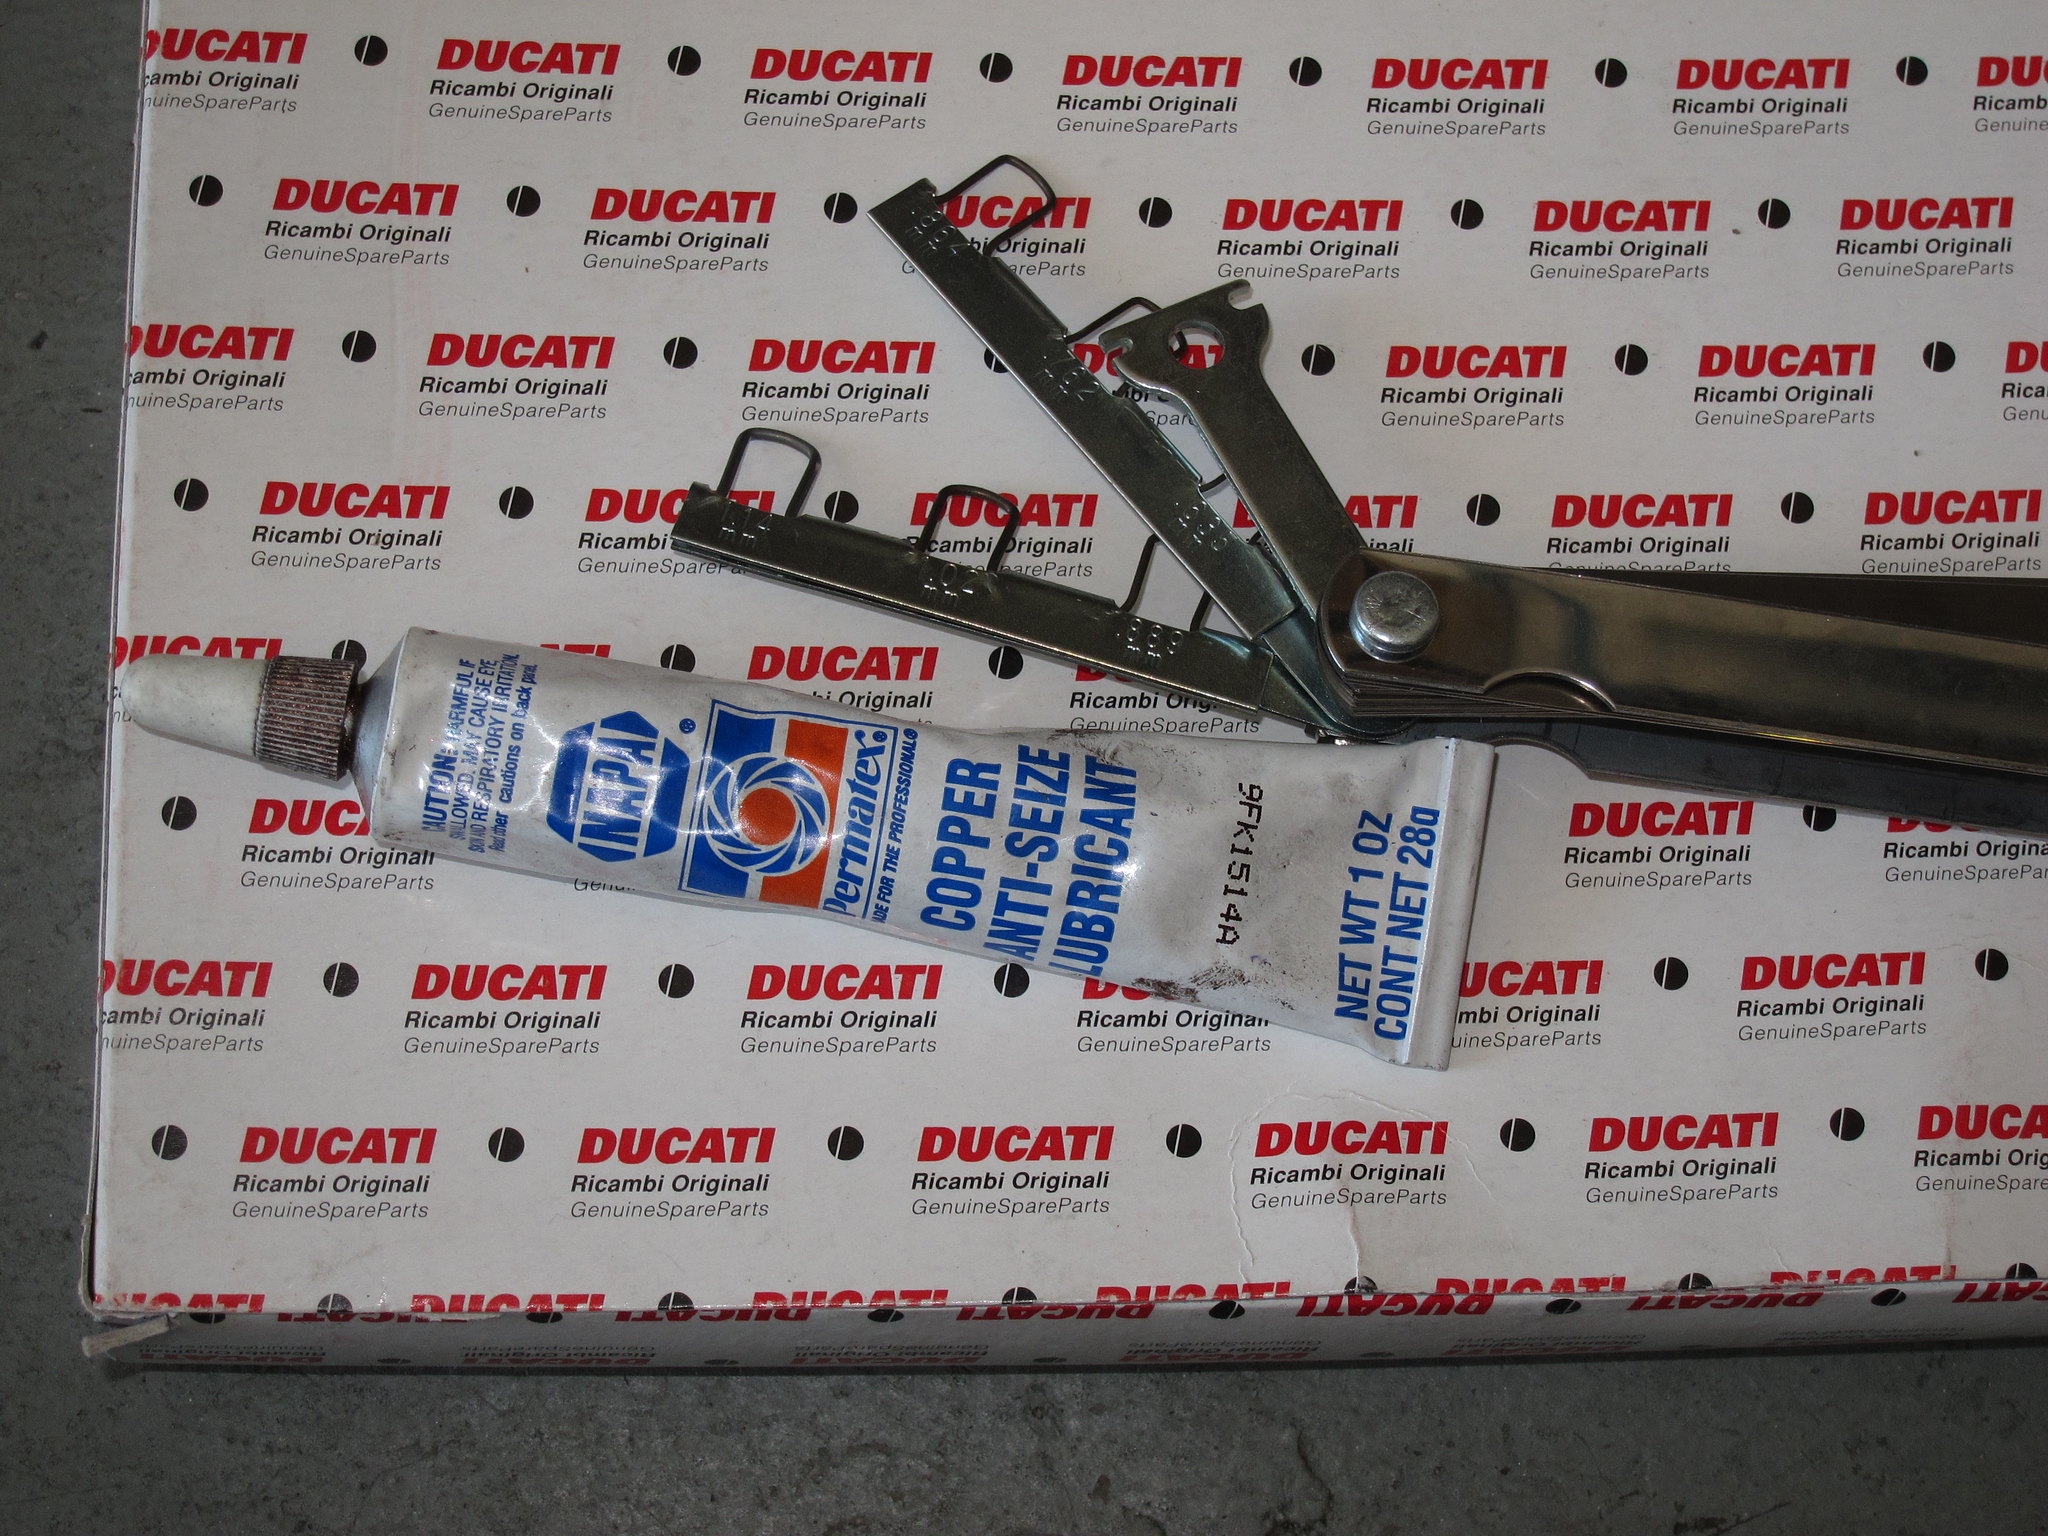 IMG_0318
 Put some copper grease (anti-seize) on the thread.
Place the new plug into the socket. NAPA socket has rubber bushing inside. Don't push the plug all the way in(hex part held in socket) , just let the rubber bushing hold the ceramic part of the plug. Don't put the ratchet handle (yet), hold the extension bar and gently spin with your finger. That way, if the plug / socket is not straight, the plug will start spinning (slipping) inside of rubber and you won't cross thread. If you use the kind of cheapo plug wrench that has no rubber inside, be very careful not to cross thread.
Tighten with finger until you can't tighten anymore. Push the socket in (so it catches the hex part of the plug), then tighten more with finger all the way.
Then, only then, put ratchet handle (or torque wrench if you have), and tighten to 20 N-m.
Now, front (horizontal) cylinder is done. Put back the radiator mounting bolts.
Next is the rear (vertical) cylinder. Remove the seat, lift up the fuel tank. You will have to lift it up quite a bit, so you don't want to do this with a tank full of gas. Support the tank any way you like. (Just make your it won't slam on your hand while you are working.)
 IMG_0315
  IMG_0314
 Disconnect the wire like before, grab the plug cap and twist, pull out. As you can see in this photo, you can do this without removing battery.
You will need longer extension ... but the rest is the same.
 IMG_0319
 So, make sure you have all the tools needed before you start working on a bike.
And remember NGK DCPR family will not work on our bikes.


